As a freelancer or digital nomad, one of the most critical challenges is receiving payments from clients across the globe. When I first started receiving international payments, I was baffled by high bank wire fees and the confusing procedural hoops. After scouring countless nomad communities for a more streamlined, cost-effective solution, it became clear: PayPal remains the global standard for cross-border transactions.
However, the signup process can be a minefield. From setting up the correct regional address to verifying banking information, many newcomers face account restrictions or setup errors. I personally struggled through three rejection attempts during my first try. Today, based on my personal trial-and-error and the latest platform updates, I’ve compiled a “5-Minute Cheat Sheet” to help you open a secure PayPal Business account without the common pitfalls.
1. Pre-Setup Checklist: Prepare Before You Click
Accuracy is the key to an error-free signup. Having these ready will reduce your setup time to under five minutes.
| Essential Item | Why You Need It | Notes |
|---|---|---|
| Business Email | To maintain professional separation | A dedicated Gmail is usually sufficient. |
| Official ID Details | Your legal name and address | Must match your Passport or government ID exactly. |
| Bank Account Info | To receive funds | Have your bank’s official account details ready. |
| Proof of Identity | Passport or Driver’s License | High-resolution digital scan ready to upload. |
🗣️ My Experience: Why a Business Account?
Many freelancers struggle to choose between a Personal and a Business account. If your goal is global freelance work, always start with a “Business Account.” Personal accounts often hit strict receiving limits and lack the critical feature of issuing professional invoices to clients. A Business account looks more professional, offers robust seller protection, and is essential for building a long-term freelance income pipeline.
2. The 5-Minute Setup Blueprint
The most common point of failure is selecting the wrong business entity. Most freelancers fall under “Sole Proprietor” or “Independent Contractor” categories.
Step 1: Account Initiation
Go to the PayPal Business signup page. Enter your email address. Important: Use the legal name found on your passport—do not use nicknames.
Step 2: Defining Your Business
“Legal Business Name” can be your own name if you are a freelancer. The “Business Name” visible to customers can be your project name or brand. Ensure all addresses are written in the official format for your country.
Step 3: Linking Your Bank
This is where precision is vital. Ensure your bank’s name and account routing numbers are entered without any typos. Even a single-digit error will delay your verification.
| Stage | Focus Area | Pro-Tip |
|---|---|---|
| Use a clean, professional address | Don’t use a generic or old social media email. | |
| Identity | 100% match with official ID | Double-check spelling and capitalization. |
| Bank Info | Accuracy of numbers | Double-check against your bank statement. |
🗣️ My Experience: How to Avoid Verification Errors
The most difficult part for me was the address verification and bank syncing. My Pro-Tip: Do not refresh your browser during the signup process, as this often triggers security locks. Write all your information (official address, bank details) in a notepad file first, then copy-paste them into the fields. This ensures you aren’t rushing and minimizes the chance of a typo.
3. The “Trust Strategy”: How to Verify Your Bank Account
After creating your account, the final step is bank verification. PayPal will typically send two small micro-deposits to your linked bank account.
- How to verify: Log into your online banking platform and look for two small deposits from PayPal (e.g., $0.05 and $0.12). Enter these exact figures back into your PayPal dashboard.
- The ” 지인(Friend)” Hack: If you are unsure if your account is fully active, ask a friend to send you a very small amount (like $1-$5) via PayPal. If the transaction goes through and you receive the notification, your account is live and fully functional. It is the fastest way to confirm everything is set up correctly before relying on it for client payments.
📊 Comparison: Account Types
| Feature | Personal Account | Business Account |
|---|---|---|
| Receiving Limits | Low | Very High |
| Invoice Issuance | Not Available | Professional & Seamless |
| Seller Protection | Limited | Robust |
| Best For | Casual Buyers | Freelancers, YouTubers, Sellers |
| Recommendation | ★☆☆☆☆ | ★★★★★ |
💡 Final Thoughts & Strategic Advice
Setting up your PayPal account is your “border control” as a digital nomad. Completing this process correctly is the foundational step for earning globally.
- For Beginners: Don’t stress over perfection. If you make a small mistake in the business description, you can always edit it in your settings later. However, your legal name and banking details must be accurate from day one to avoid issues when withdrawing your money.
- For Advanced Users: Once your monthly income exceeds $1,000, consider diversifying. PayPal fees can add up; many nomads eventually integrate services like Payoneer alongside PayPal to optimize their financial portfolio.
The most important thing is not perfection, but starting. Open your Business account today, prepare your first invoice, and take that first step toward receiving your global income. I’m rooting for your journey as a global freelancer!
Common Reasons PayPal Accounts Get Limited — and How to Avoid Them
My three rejected attempts taught me that PayPal’s systems are very sensitive to inconsistent information. These are the situations that most often lead to limitations for new freelancers:
- Name or address mismatch. The name on the account, the bank account and your ID should match exactly.
- Logging in from many countries in a short time. Travelling is normal for nomads, but sudden changes of location combined with large payments can trigger security reviews. Keep your contact details up to date.
- Large first payment. A big payment into a brand-new account can be held. Start with smaller invoices if possible.
- Unclear business description. Describe exactly what you sell — for example, “freelance graphic design services” — rather than something vague.
- Payments marked as “friends and family” for business. Always use goods and services payments for client work.
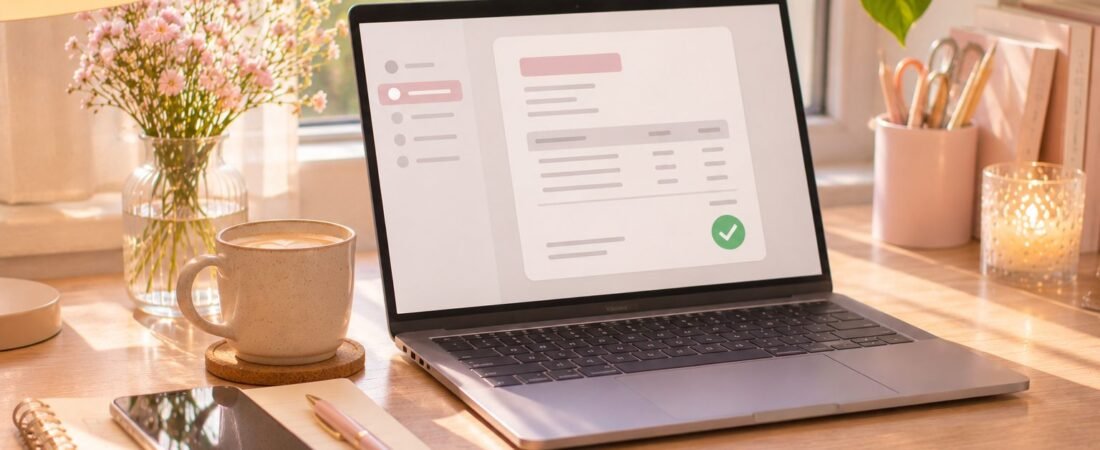
Sending Professional Invoices
- Open the invoicing section in your Business dashboard.
- Add your logo, business name and contact email.
- List each deliverable as a separate line item with a clear description.
- Set the payment terms (for example, due in 7 days) and the currency agreed with the client.
- Add a short note thanking the client and explaining how to reach you with questions.
Keeping Fees Under Control
PayPal charges fees for receiving business payments and for currency conversion. Check the current fee page for your country, because rates differ by region and payment type. To reduce costs, agree on the currency with clients in advance, avoid converting small amounts repeatedly, and compare PayPal with a multi-currency account for larger payments.
Frequently Asked Questions
Can I change a Personal account to a Business account later?
In most regions you can upgrade from the account settings, but starting with a Business account avoids extra verification steps later.
What should I do if my account is limited?
Log in to the Resolution Centre, upload the requested documents promptly and keep your answers consistent with your original information.
Last reviewed: November 2026. Platform rules and fees change often — always confirm the latest details on the official website before you decide.